Turn a lopped-off tree into the highlight of your yard by filling it with colorful flowers

Step 1: Start the Planting Hole
Wearing safety glasses, chip away at the center of the stump with the pointed end of a sharpened mattock.

Step 2: Finish the Planting Hole
As the hole gets bigger, switch to the mattock's wider end. Work your way toward the edges of the stump, leaving at least a 3-inch border, to create a hole 4 to 8 inches deep.

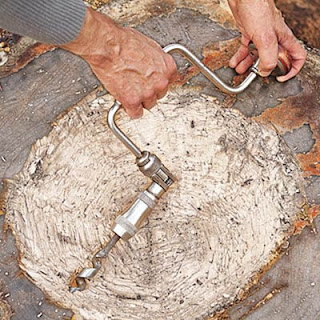
Step 3: Drill for Drainage
With a 3⁄8- to 1⁄2-inch-wide auger bit, drill (or use a bit brace, as shown) drainage holes into the side of the stump so that they slope toward the ground.
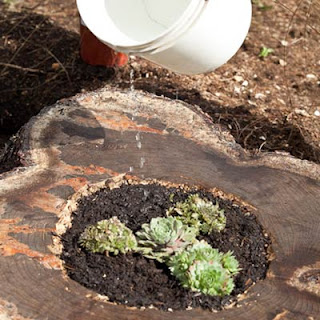
Step 4: Fill and Plant
Add some free-draining material, like gravel, then top it with a mix of 30 percent compost and 70 percent potting soil, and fill the planter with some eye-catching blooms.
(source: thisoldhouse)
No comments:
Post a Comment